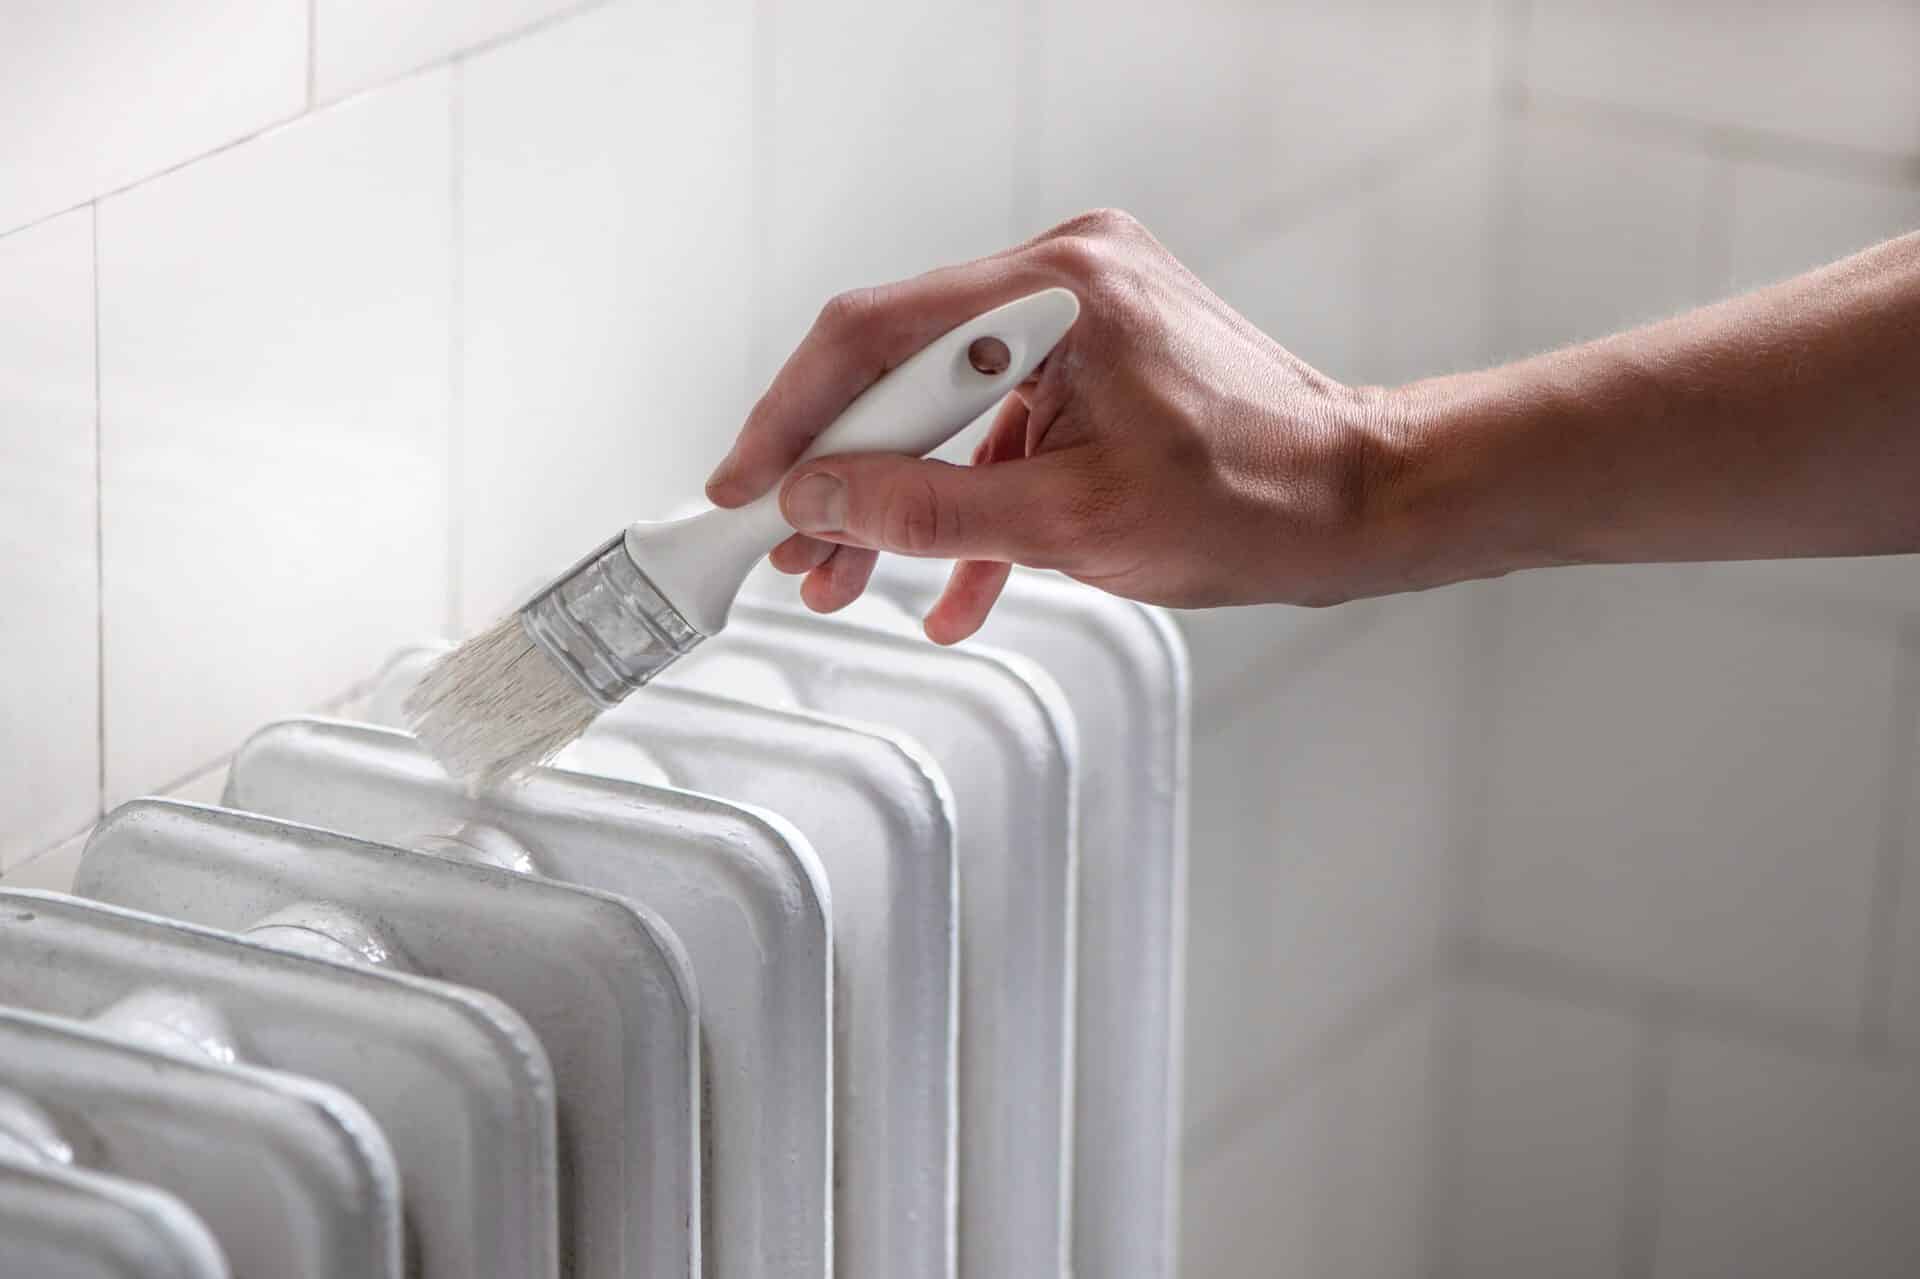
What to Know About Painting A Radiator
Why Paint the Radiator?
Radiators are a feature in many homes and can often go overlooked. It may bear signs of age such as rust, chips in the paint, or an unsightly color that doesn’t fit with the current décor. With a new paint job, you could be surprised at how quickly the space transforms. Painting the radiator could make it the standout feature in a room, compliment the other décor, or blend it into the background. The choice is yours, but all the above starts with a new paint job.
Step 1: Turn Off Radiator
Before attempting to paint the radiator, it needs to be fully turned off and completely cold. If it’s warm at all, the paint will not adhere to the surface or dry properly, so this first step is essential in getting the best result from the painted radiator.
Next, the paint and primer selection is important. If a non-operational radiator is painted, both the primer and paint you use should be rust-resistant. If an operational radiator is painted, the primer and paint need to be able to resist rust and withstand high temperatures. Our experts will know just the solution and secure the proper type of paint for the radiator makeover.
Step 2: Clean the Surface
Clear the area and clean the surface of the radiator. More than likely, the area around the radiator and the radiator itself may have accumulated dirt, grease, dust, and grime over the years, and having a clean surface will help assure a smooth, successful paint job. Cleaning the area may include wiping with a damp rag, sanding rough spots or rust marks, and sweeping away any unwanted debris.
Step 3: Pick the Right Primer
With the correct paint and primer at hand, coat the radiator with said primer, and let dry completely before continuing. The primer should be applied smoothly for a good, solid base.
Step 4: Paint Away
Time to paint! When the primer is dried completely, wipe down the radiator with a rag to collect excess dust and start painting. Between each coat, there should be a dry time of 5 to 7 minutes, and with each additional coat, the color and thickness of the paint should increase. After the paint has dried, a few more coats can be added to achieve the desired look.
Step 5: Take Caution
Something else to consider about painting a radiator is the process of painting the pipes themselves. Be careful not to paint over the radiator valves to make sure that they are not sealed for good. With a newly painted radiator, try to let it dry for a few days without turning it on, so the surface of the paint is fully allowed to harden and form.
Let the Experts Paint Your Radiator
Whether you are painting a radiator, or the exterior of your home, call the experts at Nevada Painting Company. Our goal is to provide a level of service that goes above and beyond the norm in our industry. With a commitment to value, consistency, and trustworthiness, we will provide you with a high-quality paint job for whatever you desire. Check out our spring specials, and request a painting quote today!
